
I had a busy day last Friday playing around with terrain and suff. Beside mucking about with trees and such for our Eylau table I decided to start work my own terrain and assemble some modular terrain boards that have been lying around the house untouched for far too long.
The boards/modules by Back2Basix are held together by rare earth magnets and have a natty system for incorporating different sizes both in area and height and come with a disc with full video intructions.
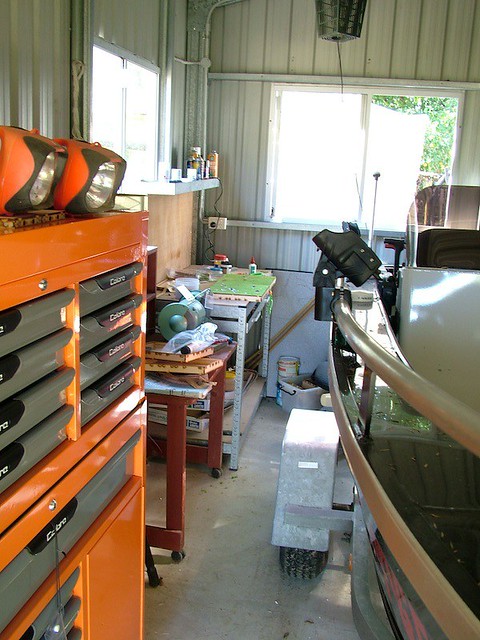
Anything that involves static grass has now bee moved to the shed, no good having it floating around the house when doing commission painting, my skanky cockatiel's are bad enough and as for cats fur, as the Breaker said "rule 303!"

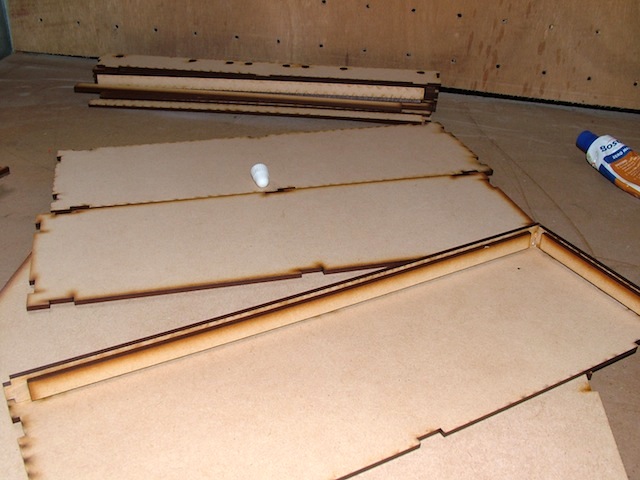
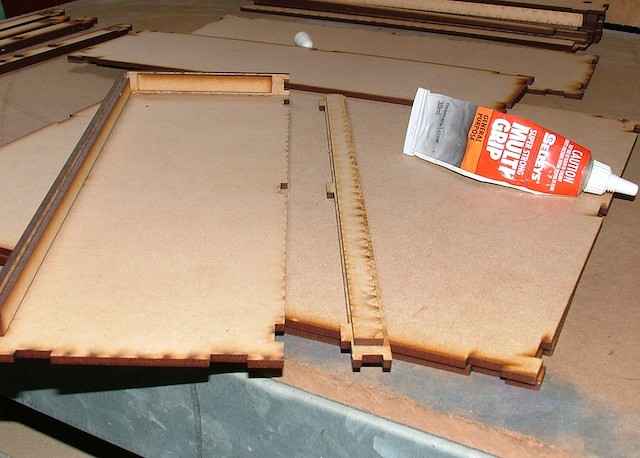
All the pieces are laser cut and fit very precisely, first of the edges need a bead strip glued to the back of them to prevent the magnets from pushing through and then the edges are glued to the top (playing surface), the pic's show the boards upside down for fixing the edging. Modules shown are 100 x 300mm.
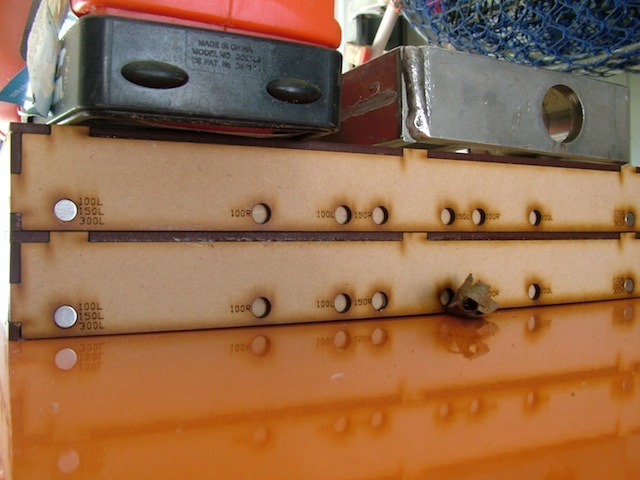
Weighting the boards while the glue dries, this is a modular system and accommodates boards of a mix of different lengths and widths very simply, as you can see 100mm 150mm and 300mm. The modules shown are 300 x 300mm if I was to use them with 100mm or 150mm I would simply need to glue in magnets into the holes provided.
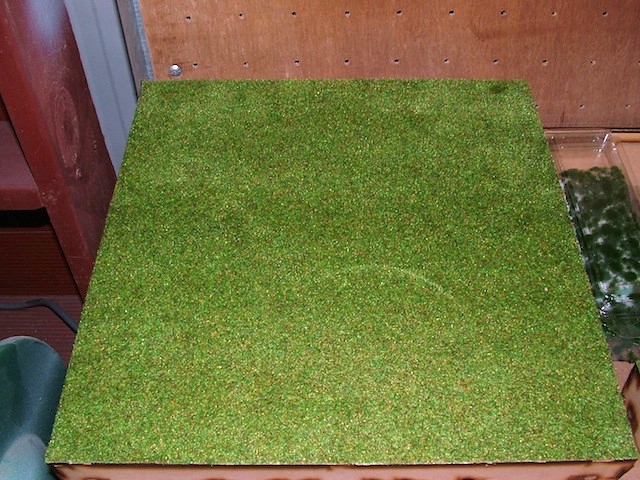
300 x 300 x 32mm module with static grass, now for decorations
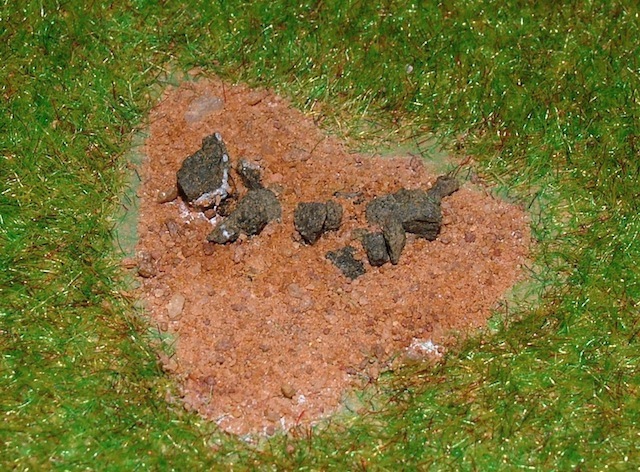
These boards will be for easy going (might provide cover for prone troops) so I don't need much in the way of terrain features just enough to break up the blandness. I cleaned off the static grass and with white glue and gesso painted on the bare backing sprinkled over some sharp sand and some small pieces of blue metal (gravel) and then wait for the glue to dry.

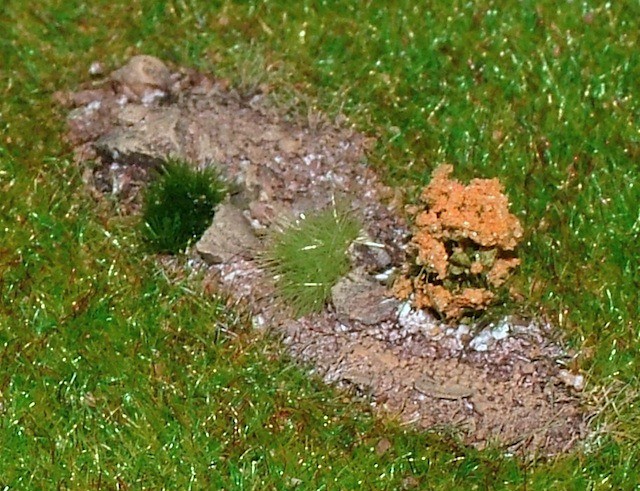
I have made up a slurry of gesso and white glue and dribbled it over the loose sand that wasn't in contact with the base and keep repeating the whole process until it looks right. In this instance I want the bare earth patches to look like boney ground with the last remnants of weathered rock so they must appear higher than the static grass rather than lower, the larger bits of gravel have smaller pieces placed around them an in some instances sand up and also over the sides. I simply use gesso to glue the gravel in place.
Bit of maintenance while I wait for the glue to dry sufficiently
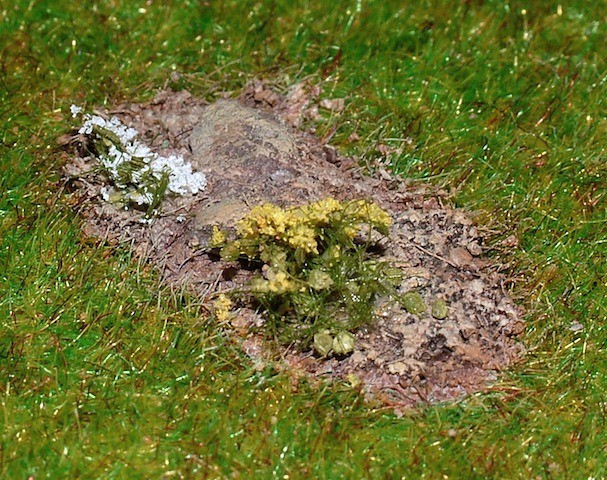

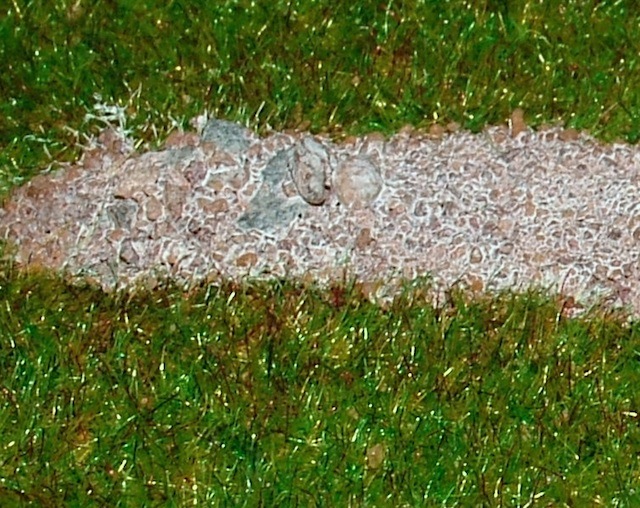
Sand and gravel painted and with a bit bit of tuft, creeper and flower decoration added, might slop a bit of ink over the outcrops to add a bit of depth
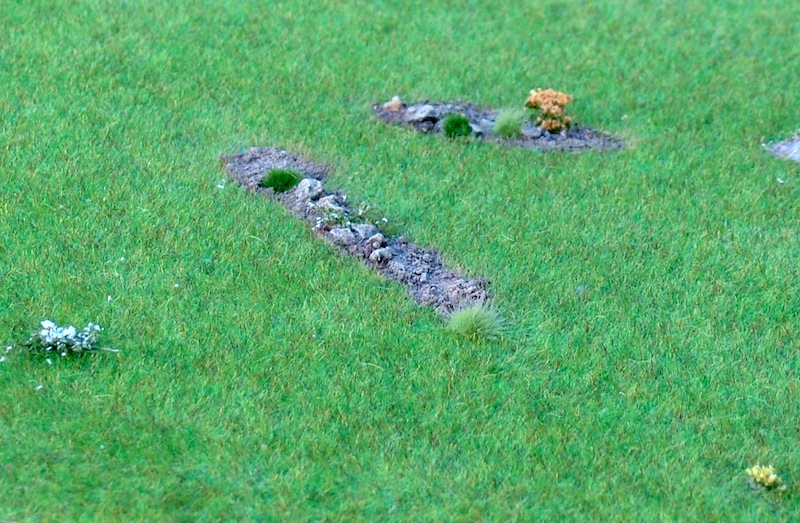
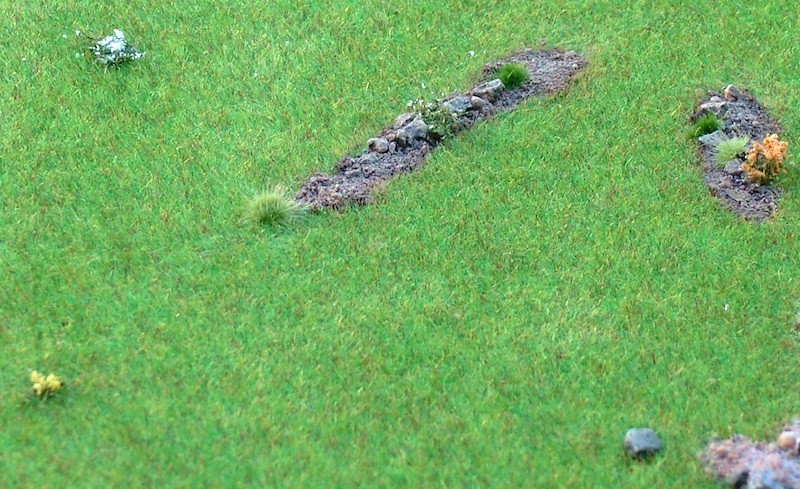
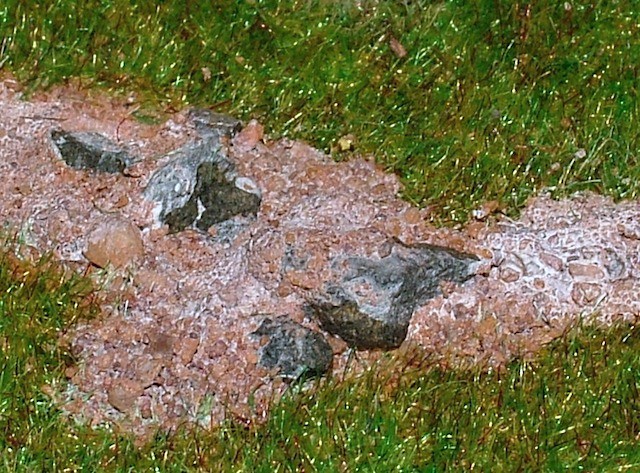
General overview, next I will clean up around the outcrops and work some variation into the static grass possibly make a few low laying shrubs or bracken and then onto the 300 x 100mm modules. These pic's were taken outside hence the change in colour from those under the fluro lights
I'm seriously taken with those boards and great basing on them; excellent work Sir.
ReplyDeleteGotta agree with Michael, they look excellent!
ReplyDeleteThanks gentlemen much appreciated, did you take a look at the link Michael? They really are a good product and I have been remiss not assembling them sooner that I have, I'm really sold on them now.
ReplyDelete